Fragrance can immediately evoke a feeling, and a wedding is the perfect occasion to incorporate a signature scent. Rose complements rose-filled flower arrangements, and citrus is perfect for a garden wedding. Spices like clove and cinnamon make an autumn day warm and memorable. Woodsy pine works well for a mountaintop ceremony. You can also pick a scent associated with your first date or proposal — just don’t forget to share the story!
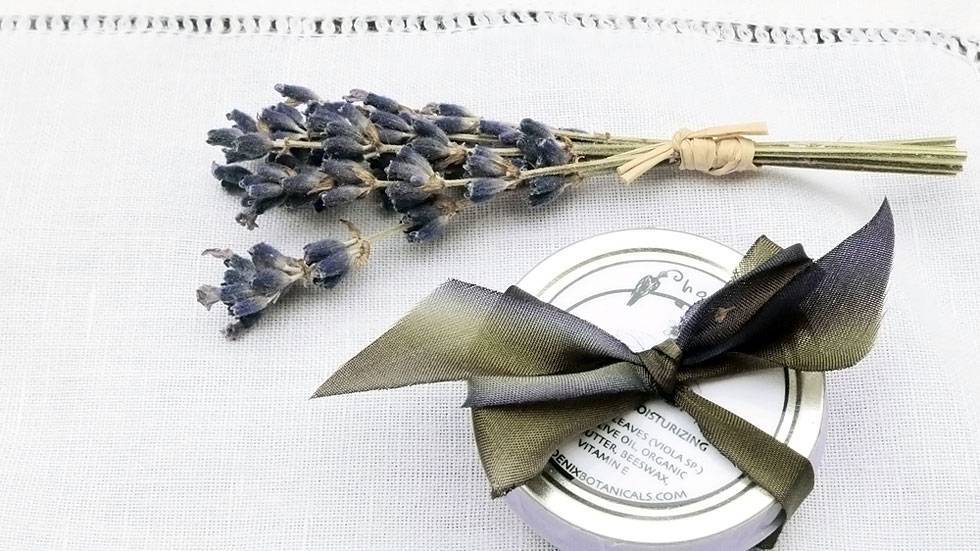
Choosing and making your own solid fragrance is personal, fun and rewarding, and handmade perfumes make wonderful gifts (or favors for party guests). Add to the good feelings by choosing botanicals with aromatherapy benefits. Florals are uplifting and romantic, vanilla is warm and sweet, and woods and resins can be grounding and calming. (And they smell amazing!)
Solid perfume is also easy to package, carry, and re-apply at leisure. Let’s look at one way to make your own solid botanical perfumes.
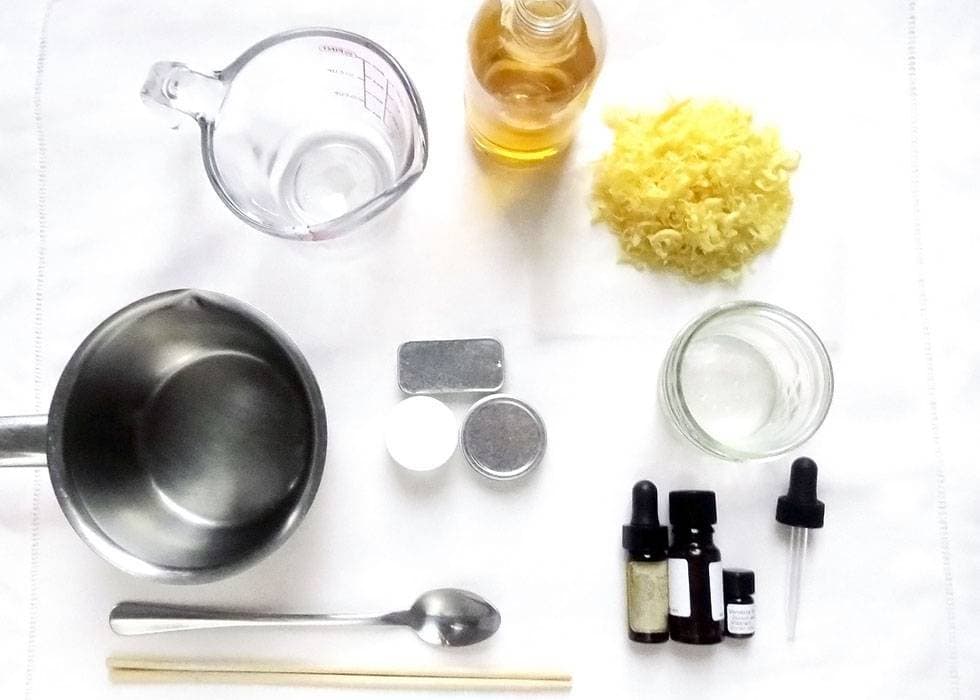
You will need:
Essential oil(s)
Carrier oil (you can use jojoba, almond or olive)
Beeswax pieces (or soywax/ candelilla wax)
A small pot (stainless steel or enamel)
Measuring cups / small glass jars
Wood chop sticks or skewer sticks
Small tins / solid perfume containers
Your nose
Optional: Double boiler, kitchen thermometer, droppers / pipettes
Tip: To make a dozen half ounce perfume tins, you will need 4 oz carrier oil, 2 oz beeswax, and 120-150 drops essential oil.
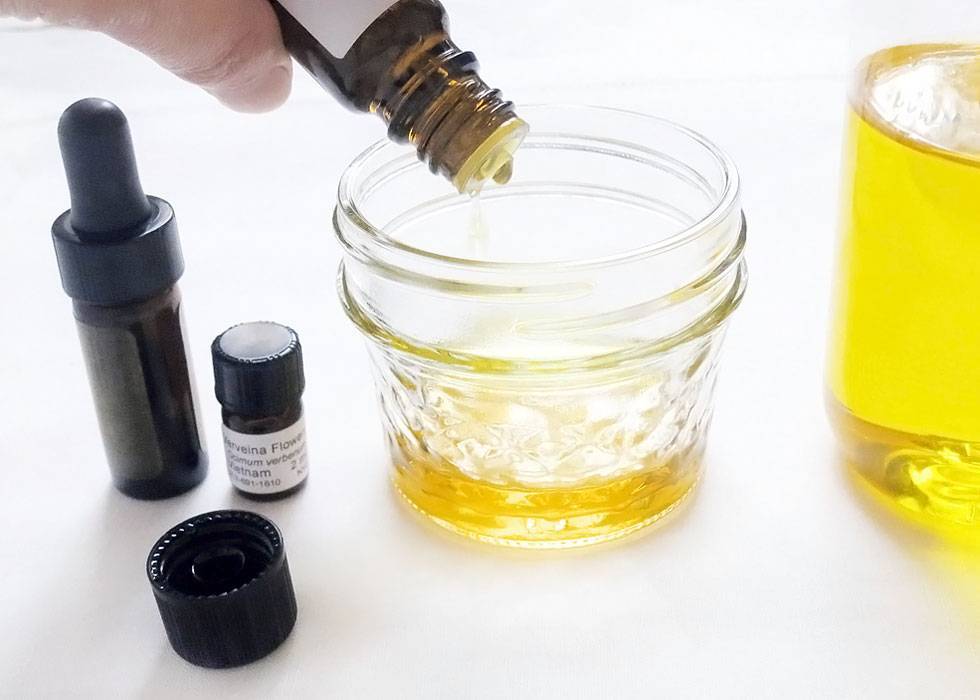
Part 1: Blend the Essential Oils
If you’re new to perfumery, stick with one essential oil or simple blends of 2 or 3 scents. Add your chosen essential oils to a small amount of carrier oil in a jar. (Tip: Jojoba oil is a favorite carrier, as it has little smell of its own and a long shelf life.) As you add the essential oils, carefully note the number of drops used (you may wish to make more of the blend later). For the smoothest result, add the oils in the order of heaviest to lightest – base, middle, then top notes. Test by smelling above the container (not into it) and on your skin, using a chopstick. Test a few times; oil blends change with time. I recommend waiting 48 hours for the perfume oil to settle so you can get an accurate whiff.
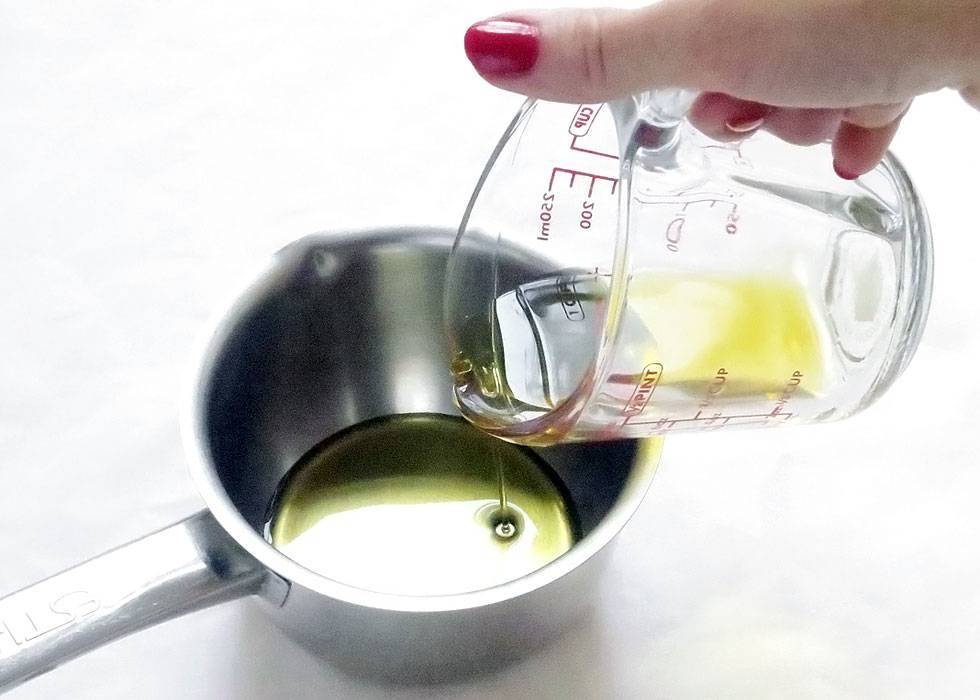
Part 2: Make the Solid Perfume Base
Measure out plain carrier oil and wax (start with 2:1 by weight, or 1:1 volume). Pour the oil into a stainless steel or enamel pot, and heat it gently on the stove using the lowest heat. Keeping the heat low, carefully add the beeswax, blending continuously using a chopstick until the wax melts entirely into the oil. Remove the pot from heat. Test the consistency by getting some of the mix on a spoon; let it cool off on a paper towel for a few minutes. When it is cooled and appears solid, test it with your finger. If it feels too soft, add more wax to the pot; if too hard, add more oil.
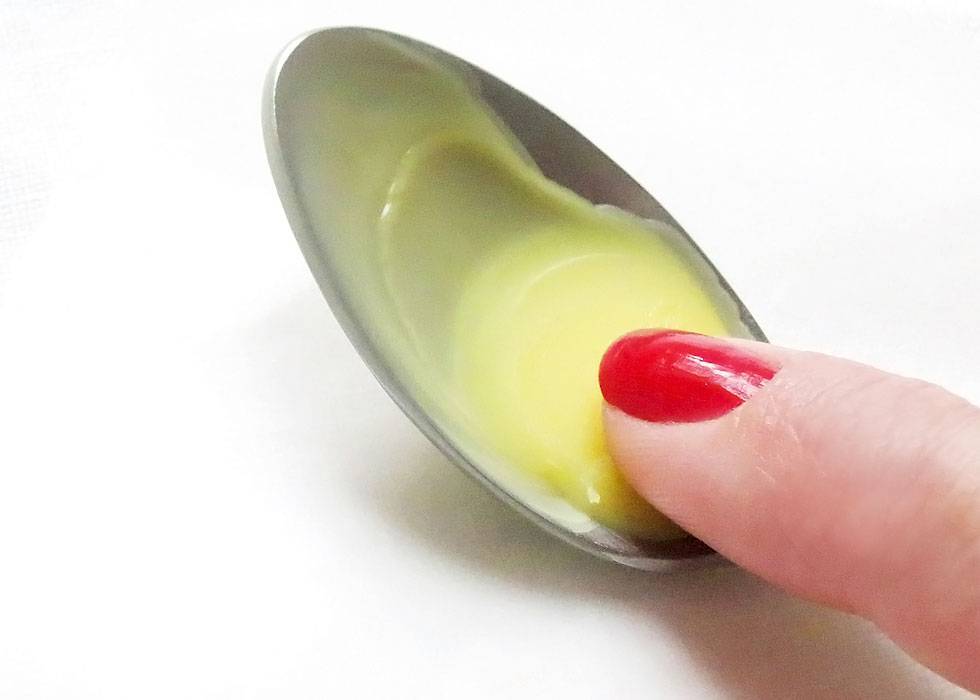
Part 3: Make Your Solid Perfume
Add your essential oils to the base. Heat can ruin essential oils, so be very careful if you have to reheat the base; keep the mix under 120˚ Fahrenheit. Test your solid perfume with a spoon and on your skin; add more ingredients if needed, until you have the desired scent intensity.
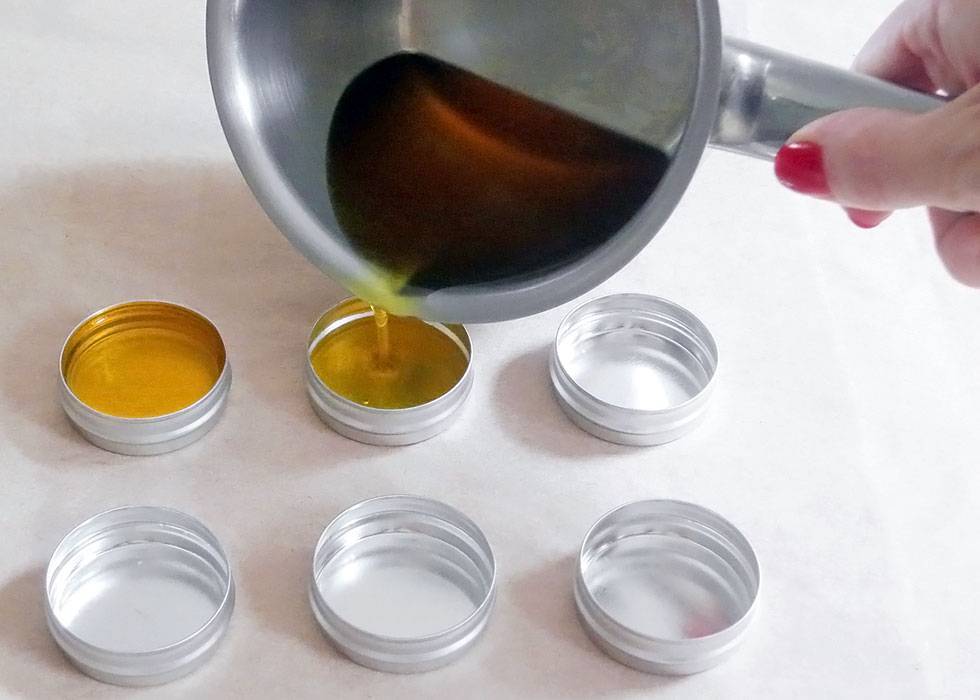
Part 4: Pour Perfume in Tins and Decorate
While your perfume mix is still liquid (reheat gently if necessary), pour it into the tins. Wait until the mix is set (hardened and cooled), before moving the tins, closing the lids, or cleaning up any spills; this should take under 10 minutes. Decorate to your heart’s content!
Decorating Ideas
I have a weakness for sealing my perfume tins with Japanese washi paper tape — it’s easy, eco-friendly, inexpensive, sturdy and comes in irresistible colors and designs. You can also incorporate ribbons, twine, rhinestones, dried flowers and other small decorations in colors that complement the theme of your day.
Happy sniffing!
![]()
All photographs by Irina Adam
Irina is a nature loving gal residing in Brooklyn. She often stops to smell the roses and has been sighted (more than once!) happily strolling about with yellow pollen on her nose.