If there is any part of your wedding easily doable on your own it’s putting a handmade touch on your favor boxes. Wax seals are a beautiful way to personalize and seal your favors, and you can use these on your invites and menus, too. There are tons of wax seals to choose from and you may even wish to get a custom monogram seal made just for your wedding. If you are unfamiliar with sealing wax, I should mention there are a few different kinds, and I highly recommend flexible sealing wax with a wick. There is also traditional sealing wax (which is more brittle) and glue gun sealing wax (which I find just doesn’t have quite the same gorgeous feel and look, but if you are going to be doing 200+ boxes might save you time). I absolutely love the look of a wax seal especially when paired with pretty paper. They’re romantic, a bit nostalgic, and so fun! I hope you enjoy the tutorial.
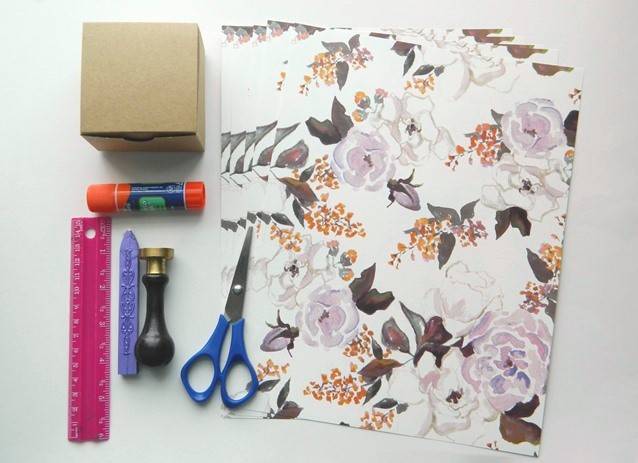
What You’ll Need:
–pretty paper (I’ve used Antiquaria’s Patterned Paper in “Annabelle Violet”)
–favor box of choice (this one is 3x3x2)
–sealing wax (I’ve used the flexible sealing wax from Nostalgic Impressions in Metallic Purple)
–wax seal (Etsy and Nostalgic Impressions are great places to shop for these)
–scissors
–glue stick
–ruler/pencil
–lighter
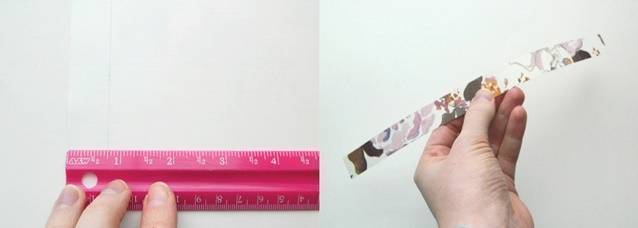
1) Turn the paper over and measure ¾ inch from the edge. Cut the ¾ paper strip (long way). One 8 ½ x 11 inch piece of paper yields approximately 11 strips.
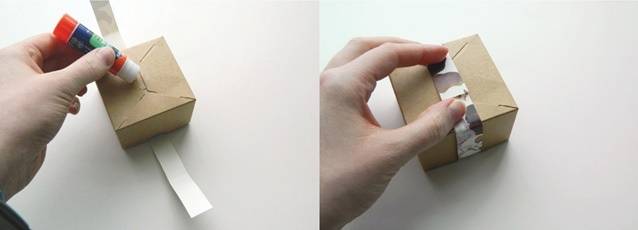
2) Glue one end of the paper strip to the bottom of the box. Turn it over. This is when you’ll want to fill it with whatever goodies are going in the box, because after this point the seal will have to be broken to get in. Once you’ve filled the box with your favor, glue the other end of the strip on the bottom of the box.
3) Turn the box up again and place the wax seal in the dead center. Lightly trace around the base. This gives you a great guideline for where and how much wax you’ll need to drip onto the box.
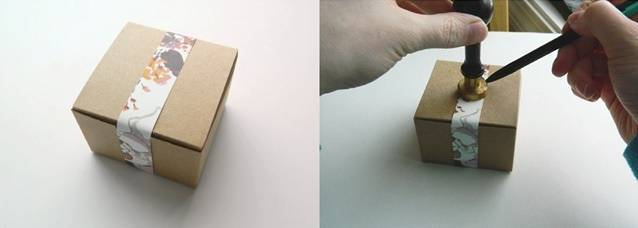
4) Light the wick of your wax stick and fill the circle you outlined with drops of wax. Don’t take too long as the wax will start to harden around the edges. The angle at which you hold the wax stick really determines the speed of the drips and also how hot it gets, so be careful. If your drops of wax start catching fire and light your pool of wax on fire then you might be holding it too vertical. Blow it out and relight your wick to continue. You’ll get the hang of it after a few tries so you might want to do a few practice ones on plain paper first if you’ve never used sealing wax.

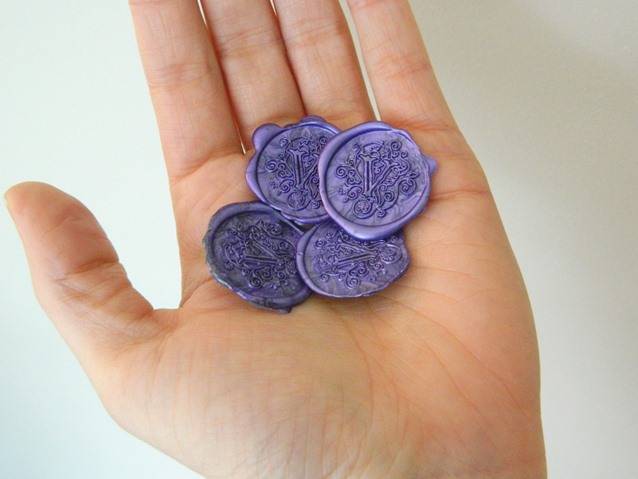
5) Quickly press your wax seal into the pool of wax and lift off after a few seconds.

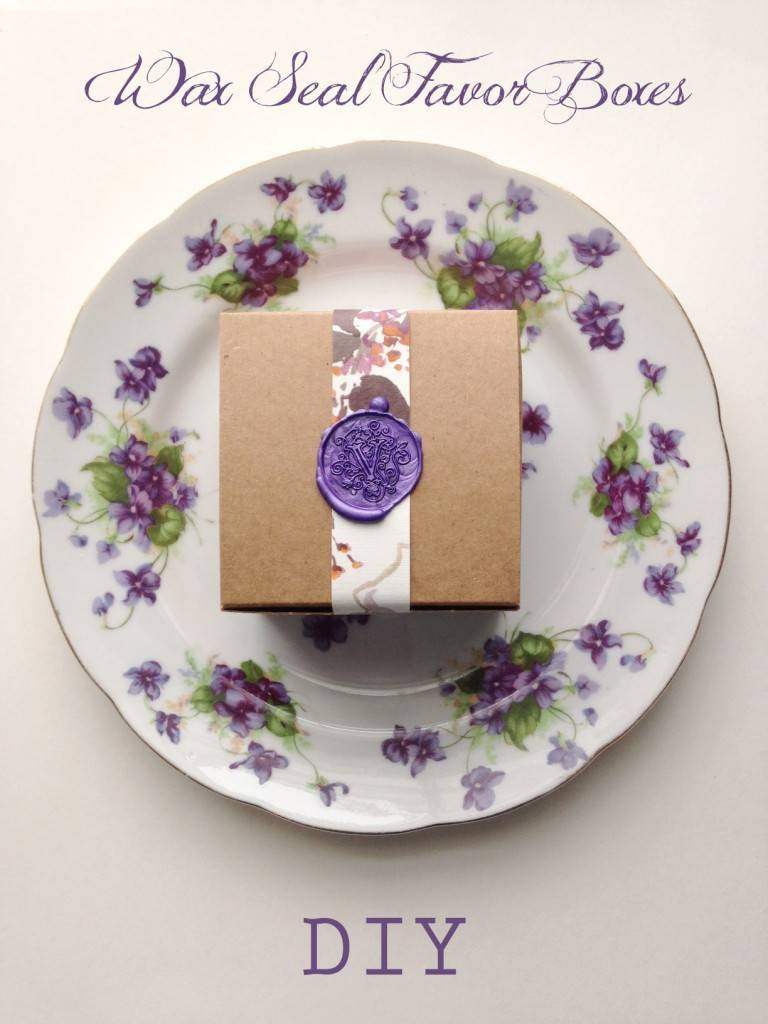
You’re done! Present it on a pretty plate at place settings and your tables will look extra special.

Tip: If you choose to use ribbon instead of paper beware the wax will burn right through it and you’ll have a mess on your hands. Instead create the wax seals ahead of time on a clean cookie sheet (they’ll peel right up) and then affix to the ribbon with clear glue (not hot glue, it will melt the pretty wax seal you’ve created) or strong double stick tape.
![]()
Photography + Tutorial: Naomi Farr / Paper: Antiquaria / Sealing Wax: Nostalgic Impressions / Seal: ExlibrisArte (Etsy) / Box: Michaels / Violet Plate: Vintage
So gorgeous! What a fun project:) Thanks for including our patterned paper!
xo
Bailey
Love the plate with the box ,gorgeous